Have you ever experienced a moment when you wanted a prop for making videos on social media, performing in a play, or cosplaying as your favorite character, but couldn’t find the perfect one? Whether you need 3D props, 3D printed cosplay props, 3D printed movie props, or 3D printed Halloween props, finding a design that matches exactly what you have in mind can be difficult.
A few years ago, your options were often limited to the props available in shops or on online shopping platforms. If you wanted something more personalized, you usually had to spend a lot on custom-made services. Even after paying for an expensive custom prop, there was still no guarantee that it would meet your expectations.
But now, with more and more AI 3D model generator tools emerging, you have a much wider range of options. Here, we compare five AI 3D model generators to help beginners find the right one for creating 3D printed props.
What Can These Tools Do for 3D Printed Props?
Text-to-image and image-to-3D model are basic features of an AI 3D model generator. With these features, you can create almost any 3D printed prop you want.
Here, I'll take a closer look at what these tools can do and how they can help you create 3D printed props, so you can decide whether they are right for your needs.
Text to Image: Shape Your Ideas into Prop Designs
If you don't have a clear idea or simply want to turn random thoughts into an image, you can tell AI what you have in mind. Your ideas can be transformed into a visual image in just a few steps. If you're not satisfied with the result, you can try again and adjust your prompts until you get what you want.
In fact, you become the designer and you just need to provide the ideas. You can create the designs you want through prompts and experiment with different ideas as many times as you like. You don't need to communicate with a professional designer or spend time going back and forth on revisions.
All of these tools offer text-to-image functionality, making them beginner-friendly. With this feature, your random ideas can be turned into visible images that you can use as references for your props. You can design unique props in your own style and create something that others don't have. Just give it a try and see what you can create.
Image to 3D Model: Turn Designs into Printable Models
Once you have an image generated from text-to-image tools or an image you already have, you can turn it into a 3D model. In just a few seconds or minutes, you can get a 3D model ready for further editing. If you're not satisfied with the result, you can adjust the input image or generate a new model.
If you have some knowledge of 3D modeling, you can further refine the model using tools such as Mesh Decimation, Model Repair, and Print Thickness Check. These tools can help you optimize the model and prepare it for 3D printing. For example, Hi3D offers a series of smart tools for editing and optimizing 3D models, making the process easy to get started with even if you're a beginner.
Once you've finalized the 3D model, it's time to add textures. You can use the texture from the original image or upload another image as a reference. You can also add a base to your 3D model to give your prop a stable foundation. You have full control over the colors and textures, allowing you to create a prop that matches your own style and preferences.
3D Model to 3D Printed Prop: Bring Your Designs to Life
When you have done all things, you can download the file and print it by yourself or you can create an order and the 3D printed props will be delivered to your address. You can choose from multi-color printing, single-color printing, or use split 3D model for printing with Split-to-Print based on your needs. Then, simply wait a few days for your prop to arrive. In the end, you'll have a unique 3D printed prop designed entirely by you.
Testing 5 AI 3D Model Generators for 3D Printed Props
Here, we looked at their ease of use, key features, and model generation results to understand what each tool can offer and how they perform with different types of props.
How Did We Test These Tools?
First, we tested the basic features of these tools to answer the following questions:
Which one is the easiest for beginners to use?
Which one has the clearest interface and makes it easiest to find and use the key features?
Which one offers multi-color printing and delivery services?
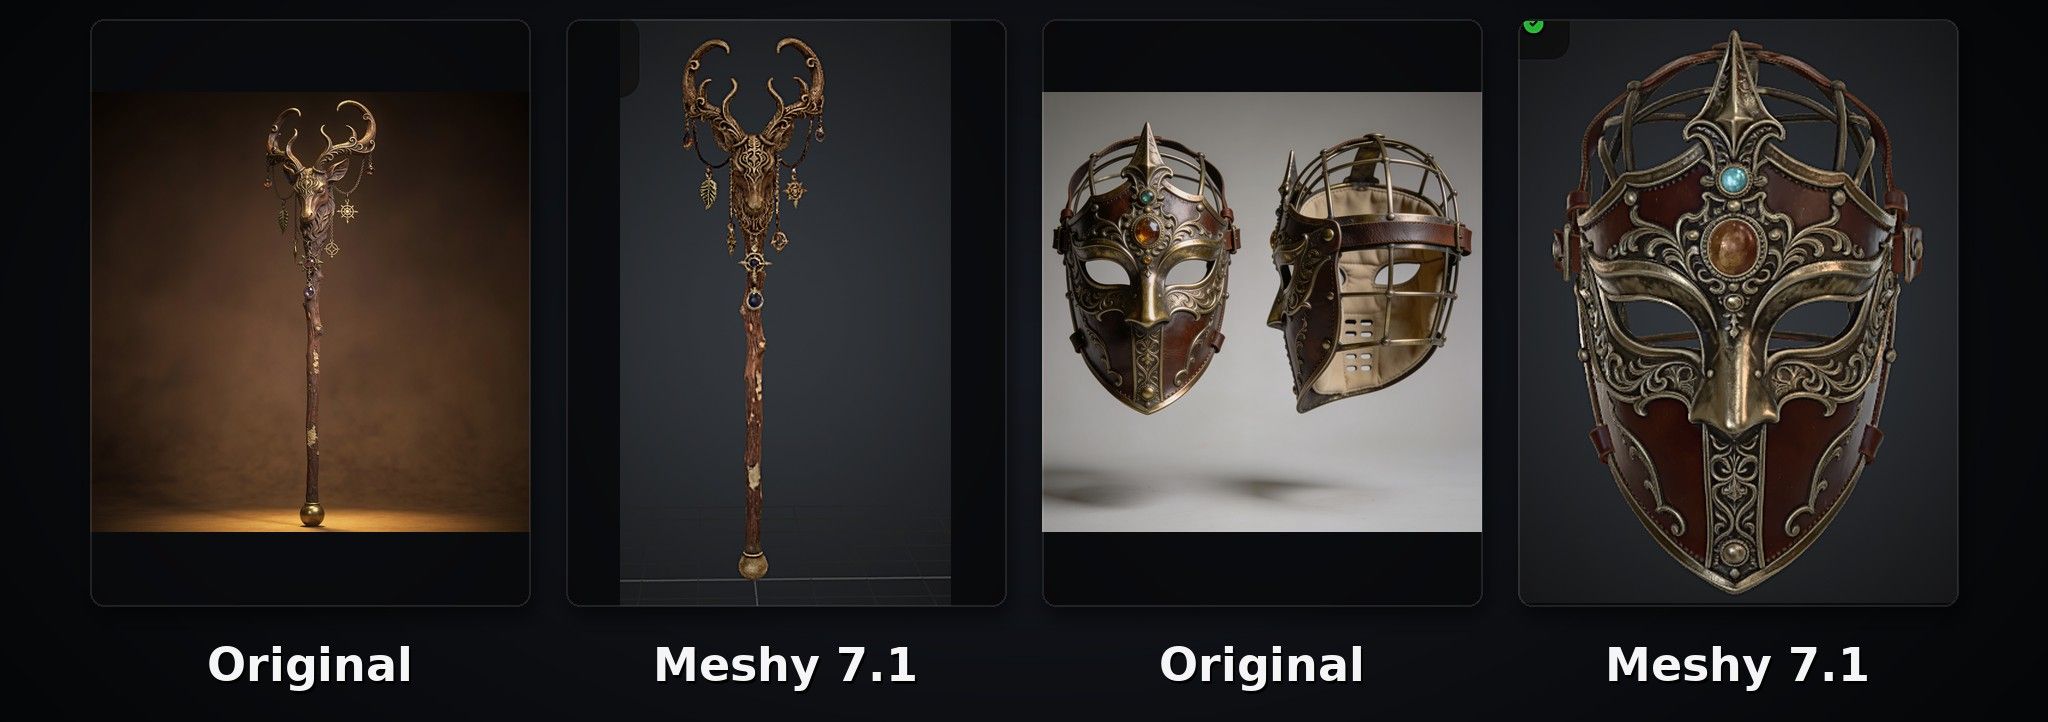
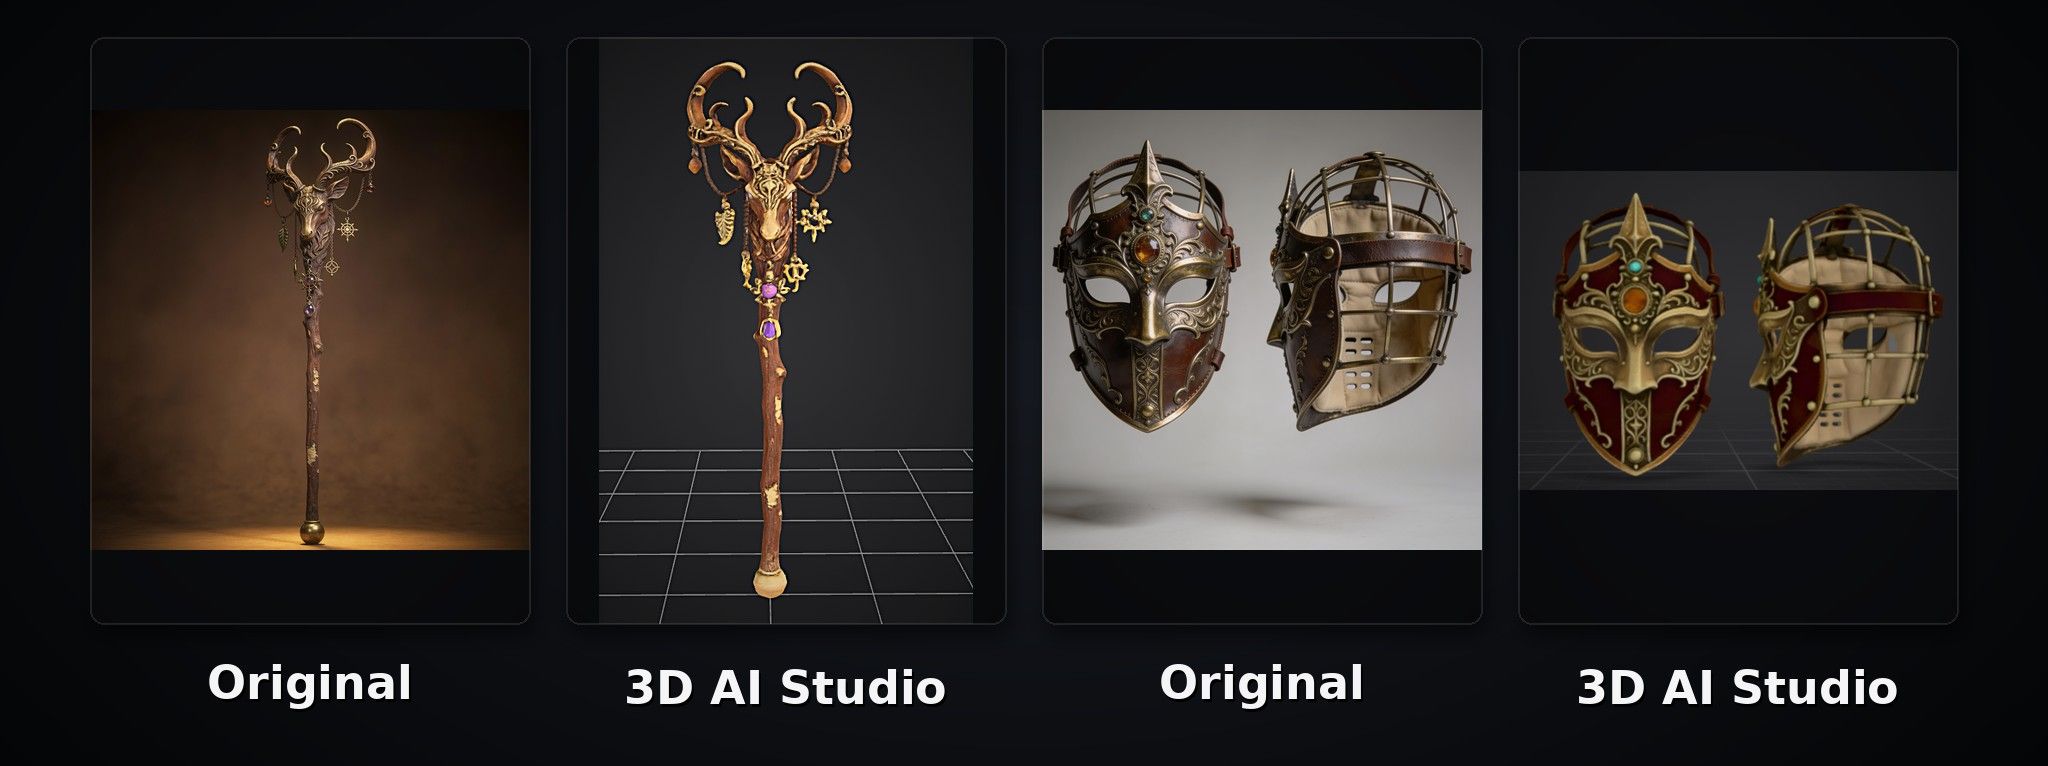
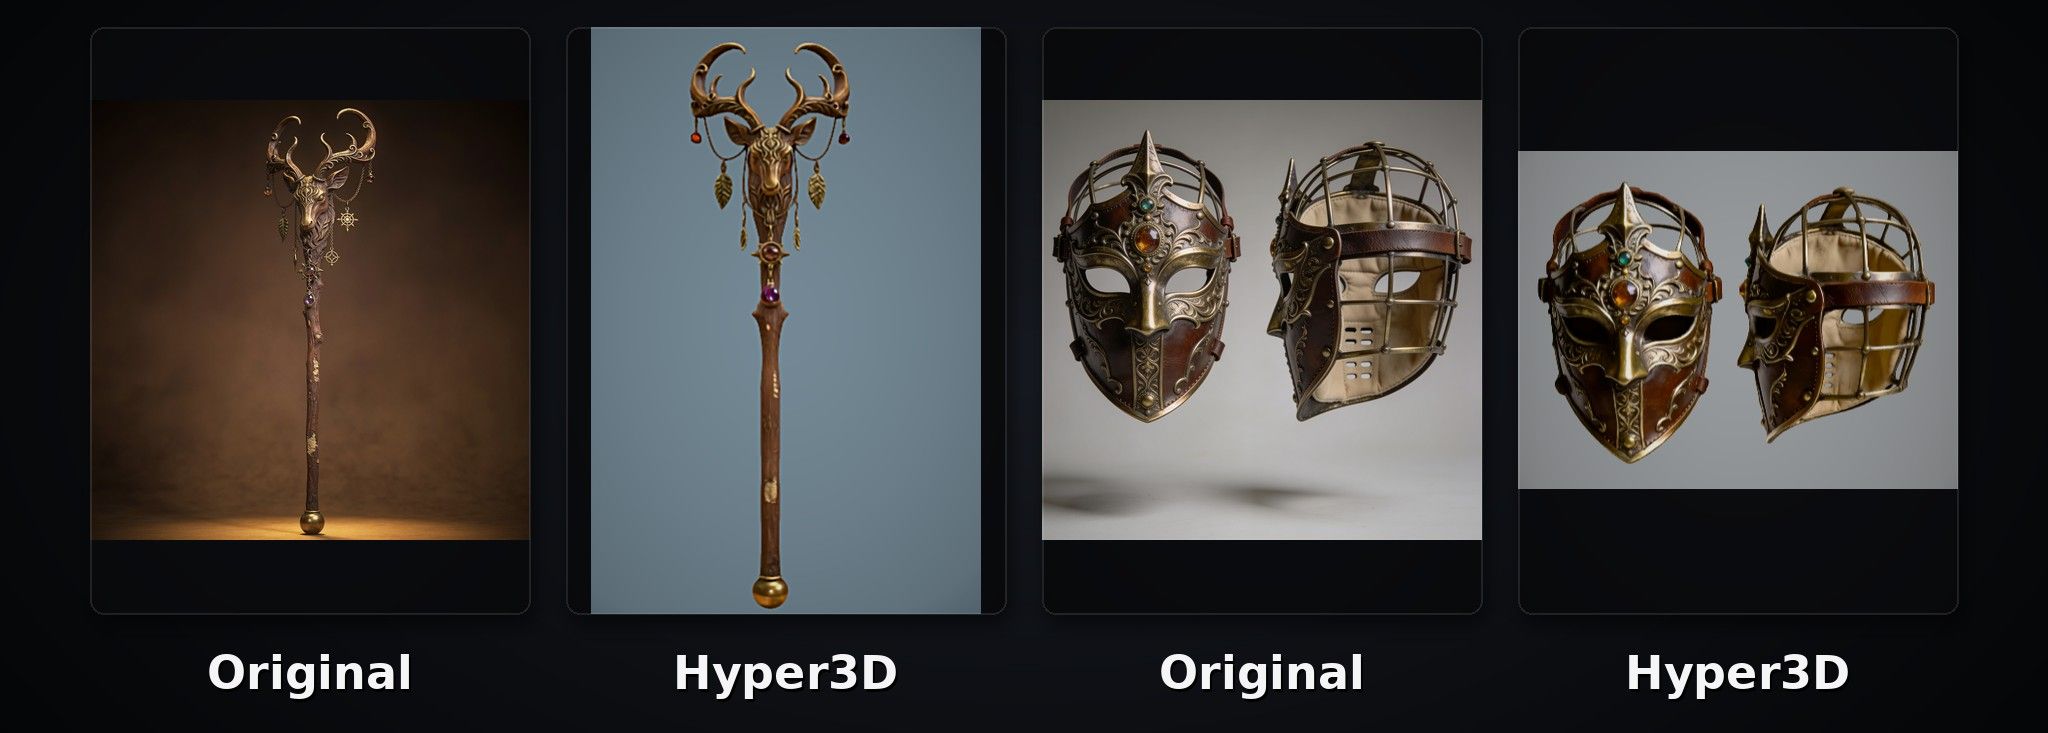
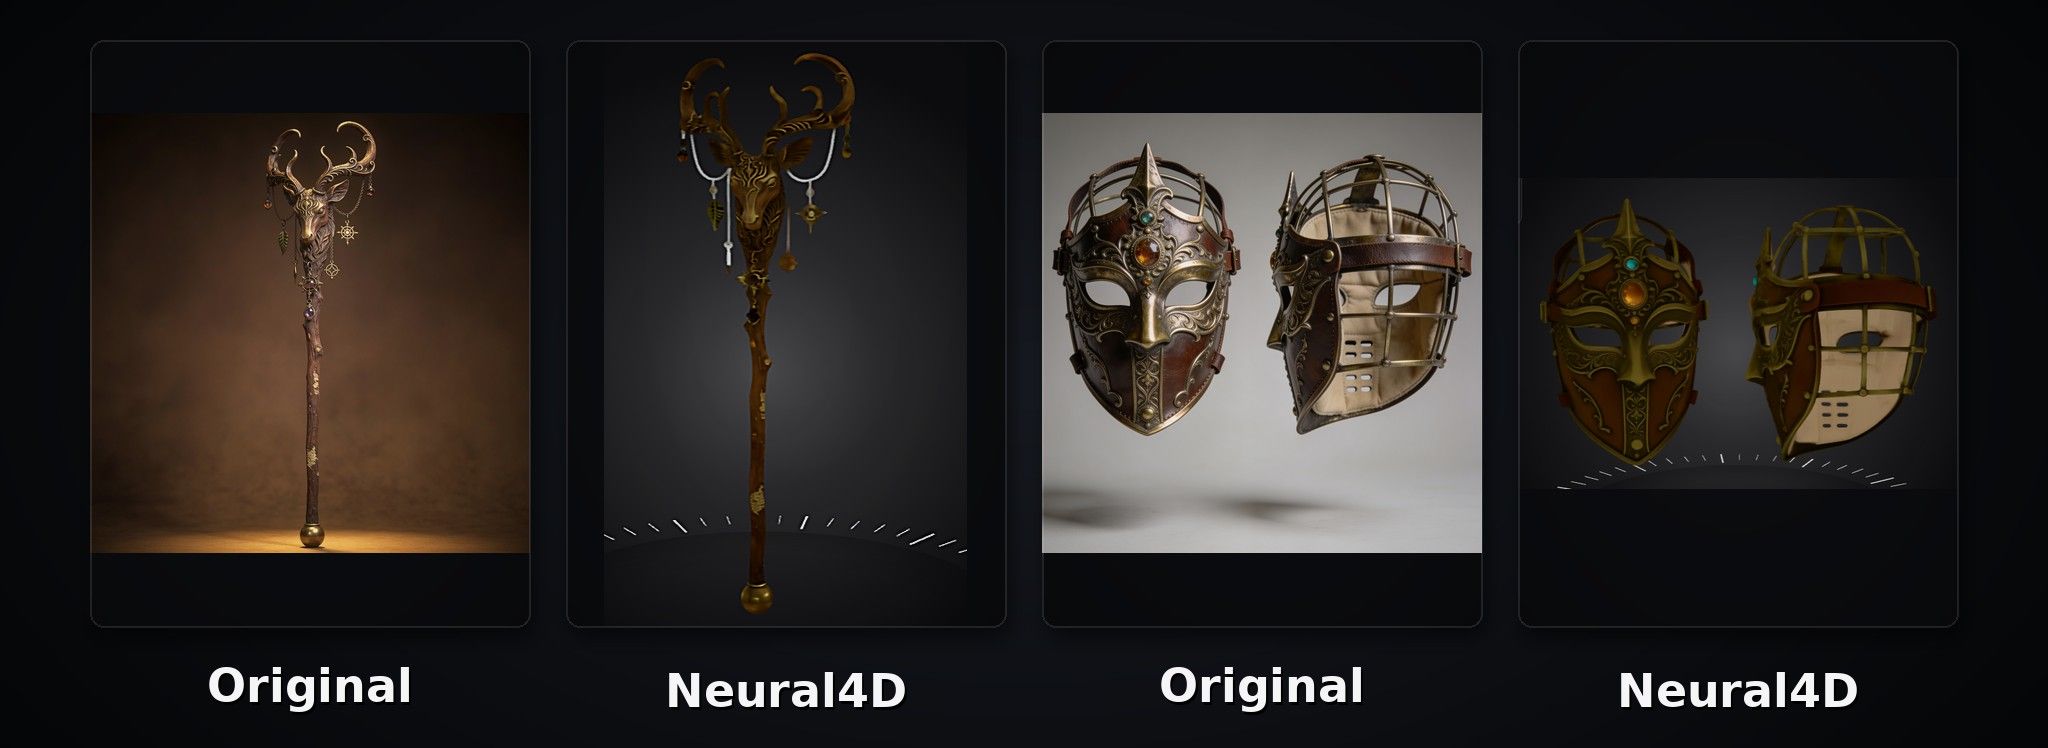
Second, we used the same images (a staff and a mask) to test each tool's image-to-3D model capabilities. This allowed us to compare how well each tool handled different types of props and determine which ones could meet a variety of prop-making needs.
Now, let's take a look at the results of our test.
Hi3D
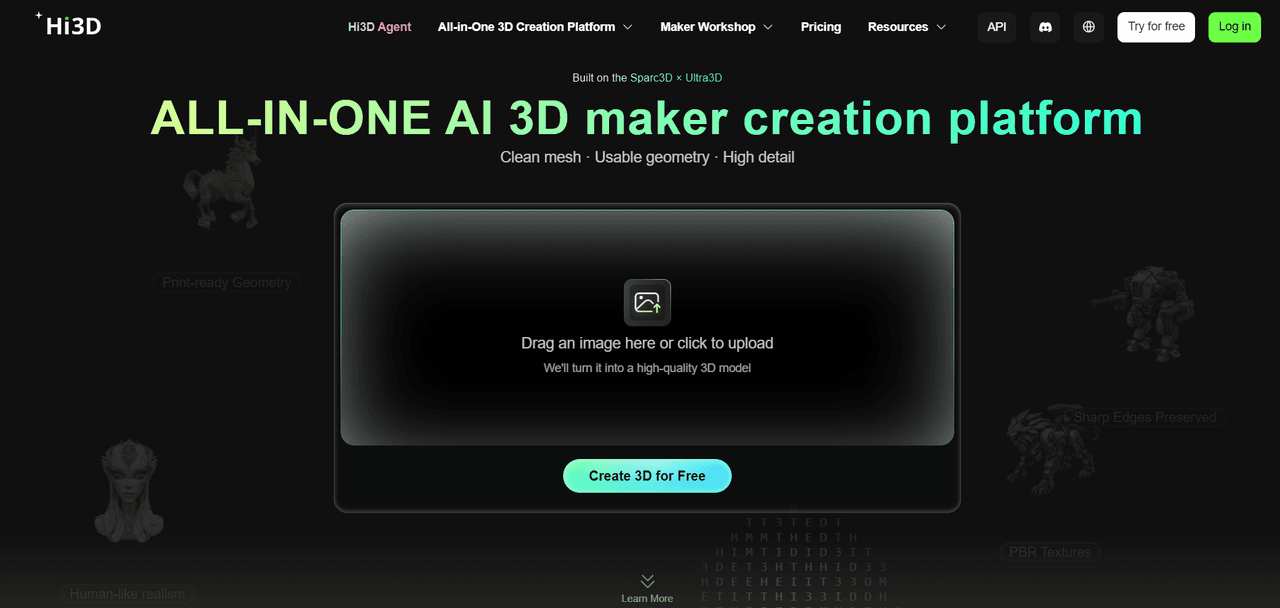
Hi3D offers a comprehensive workflow that covers everything from text-to-image generation and image-to-3D model conversion to 3D printing. With its clear interface and streamlined workflow, even beginners can easily turn their ideas or images into tangible 3D-printed props.
Recently, Hi3D released its V3.0 model, which offers improved detail reproduction and more powerful 3D modeling capabilities. Hi3D V3.0 increases geometric generation to a 2048³ voxel-level resolution. Whether you're creating complex sculptures, intricate patterns, or engraved text, the details remain clear and well-defined even when zoomed in. Even small text can be rendered clearly. If you want to create highly detailed props, Hi3D is a useful option to consider.
After generating a 3D model, Hi3D provides a fullscreen mode that allows you to view your model from 360° without other interface buttons getting in the way. For texturing, it offers AI-powered texturing with up to 8K texture resolution.
For printing, Hi3D also provides 3D printing and home delivery services, so you can have your finished props printed and delivered directly to your address. Hi3D supports split-to-print and multi-color printing.
From turning text or random ideas into 3D models to producing tangible 3D printed props, Hi3D provides a complete workflow to take your ideas from concept to reality.
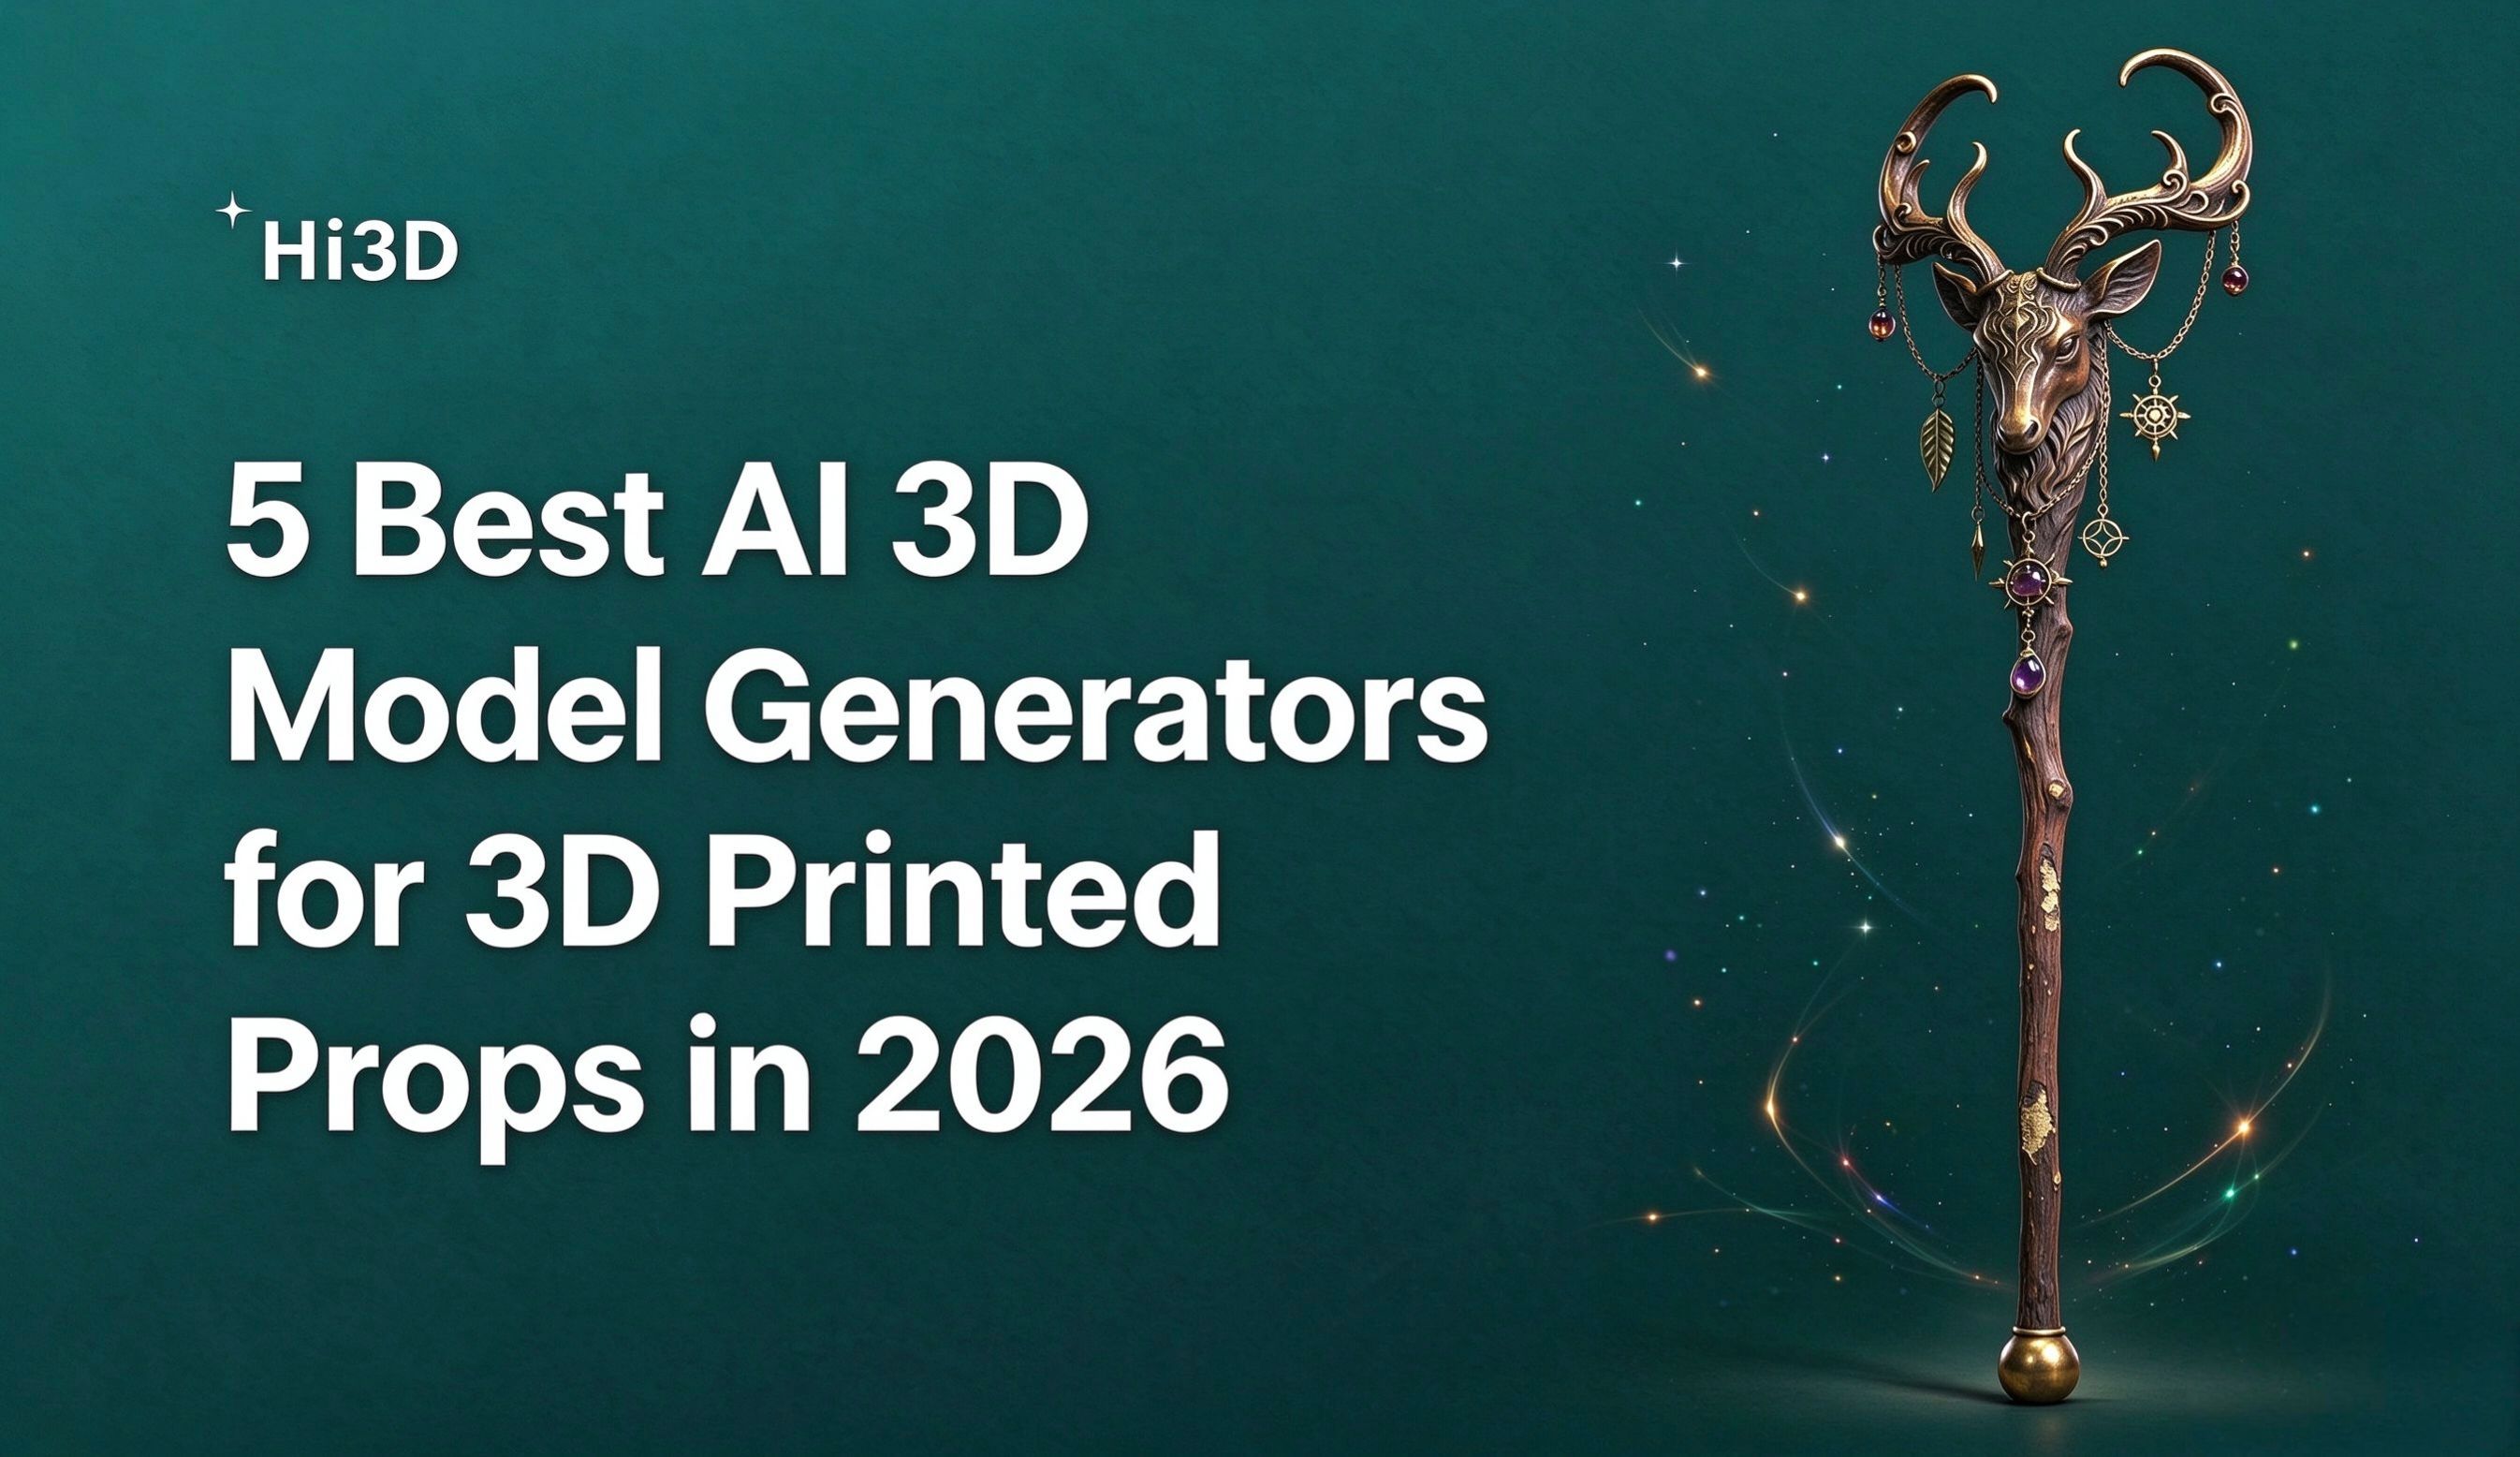
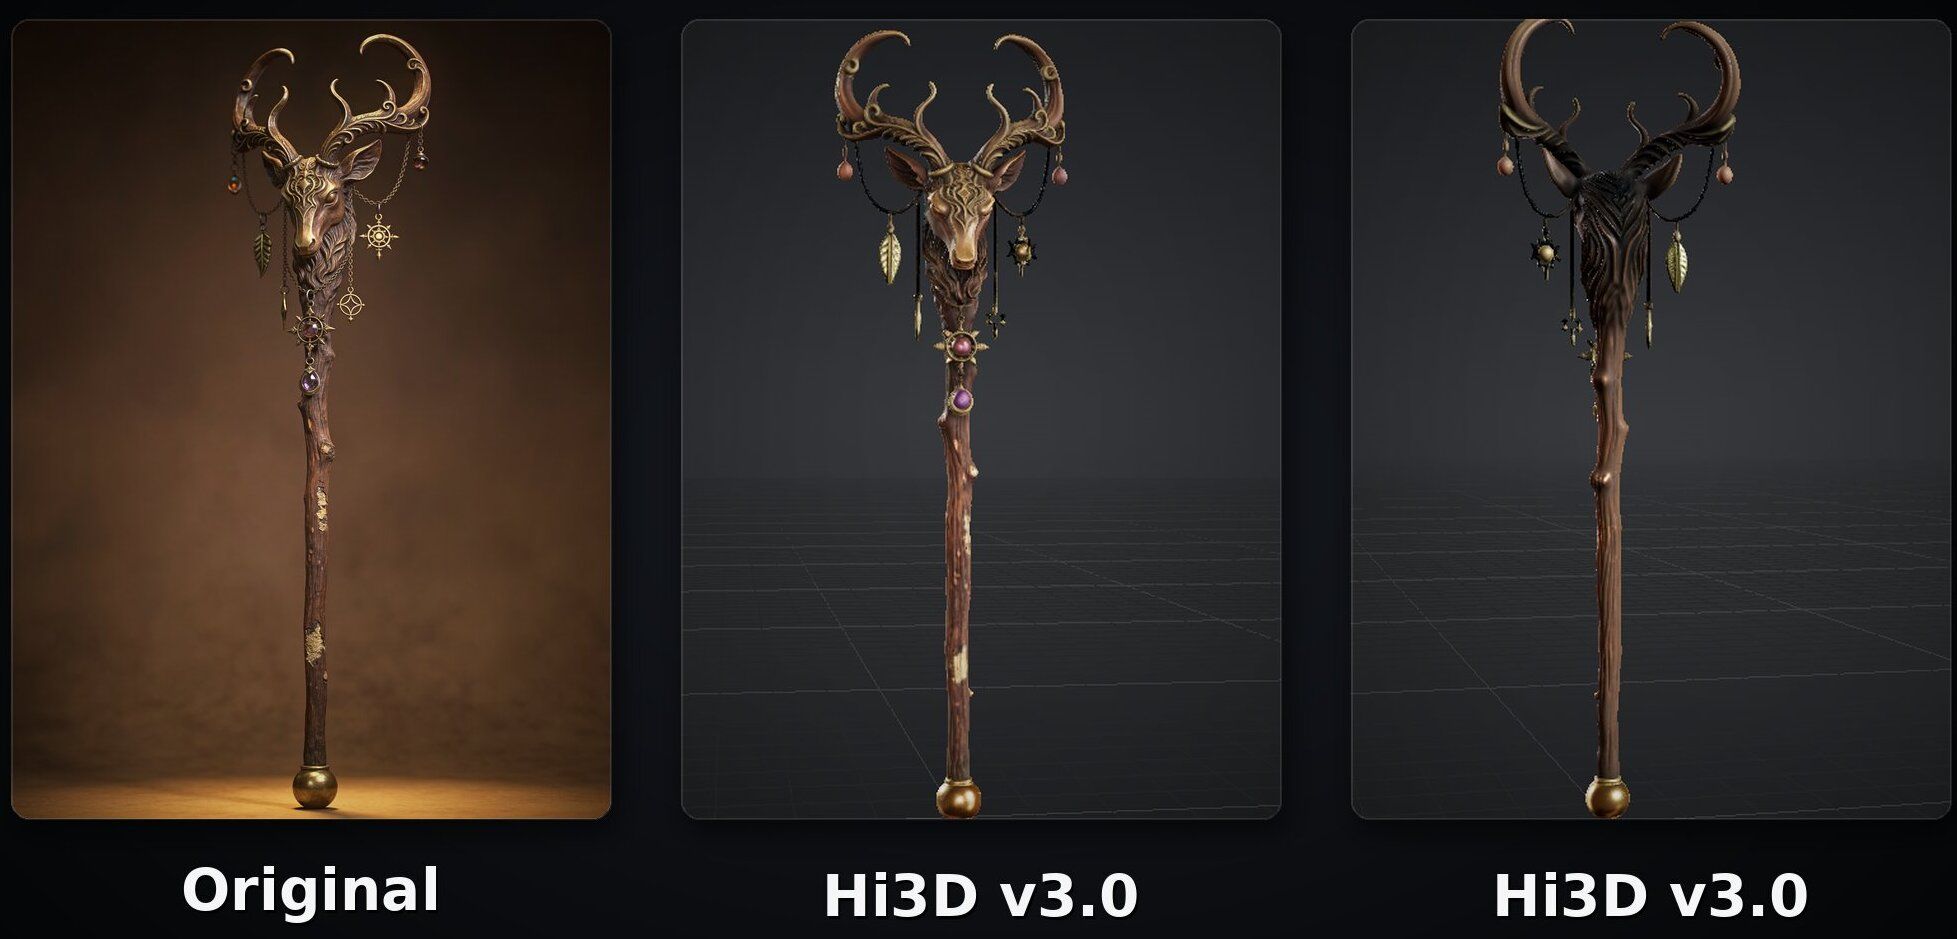
We used Hi3D to generate a vintage-style magic staff featuring an intricately designed deer head. The original image is highly detailed and intricately designed. Hi3D successfully preserves the details of the original image from both the front and back views, including the jeweled ornaments on the deer's head. The wood grain on the main body of the staff is also reproduced with a high level of detail, resulting in a refined and detailed model.
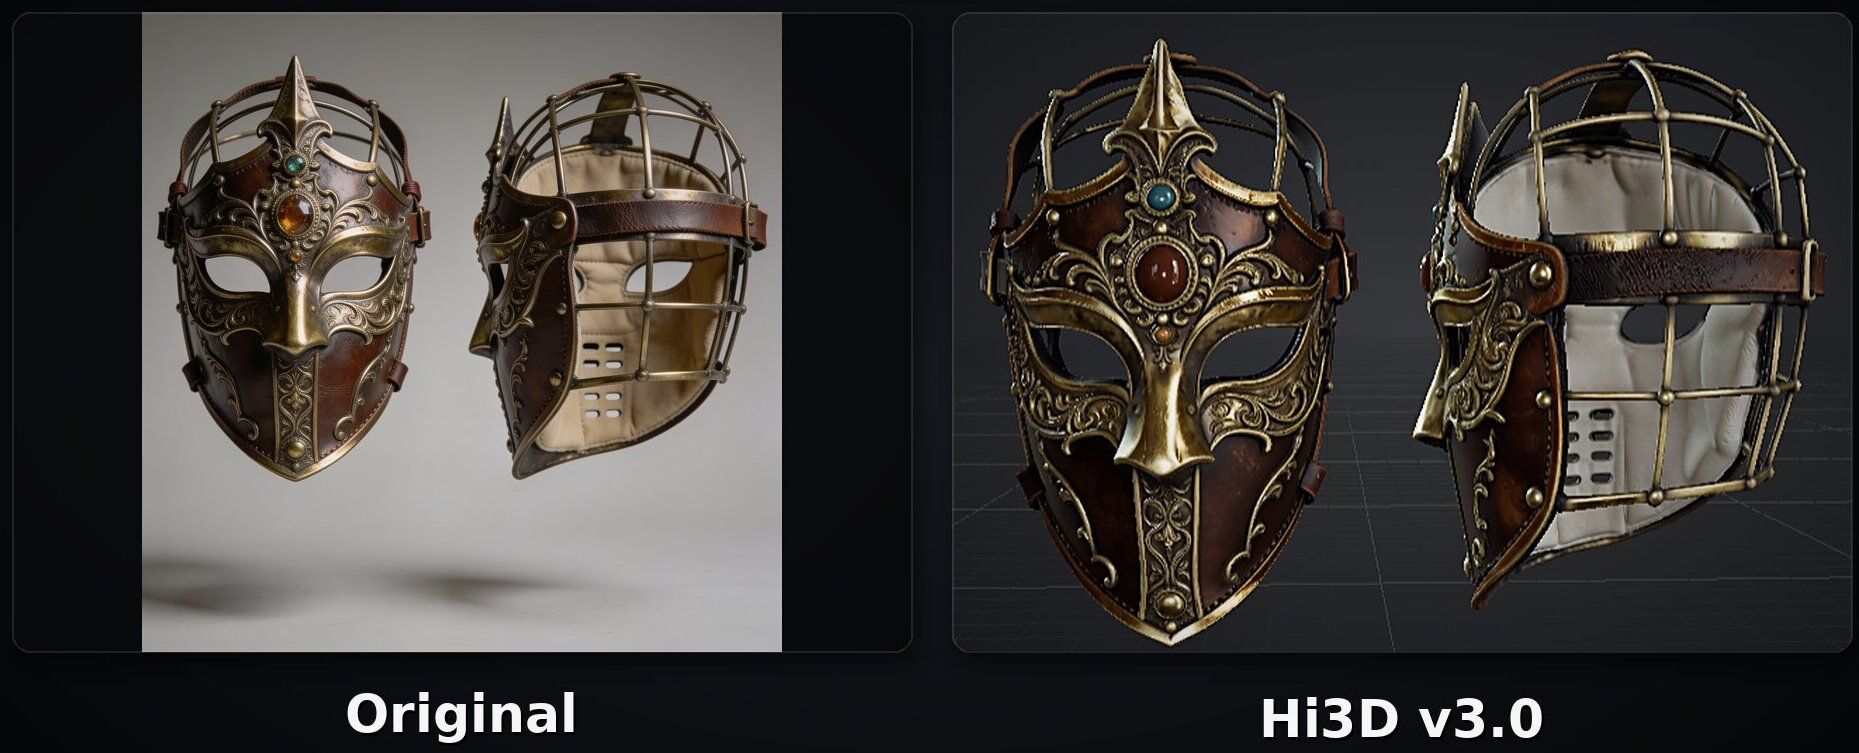
We also used Hi3D to generate a wearable prop mask that covers the entire face and features a medieval European style. Although the gemstone colors in the generated model do not exactly match those in the original image, the overall design remains highly detailed and refined.
Meshy
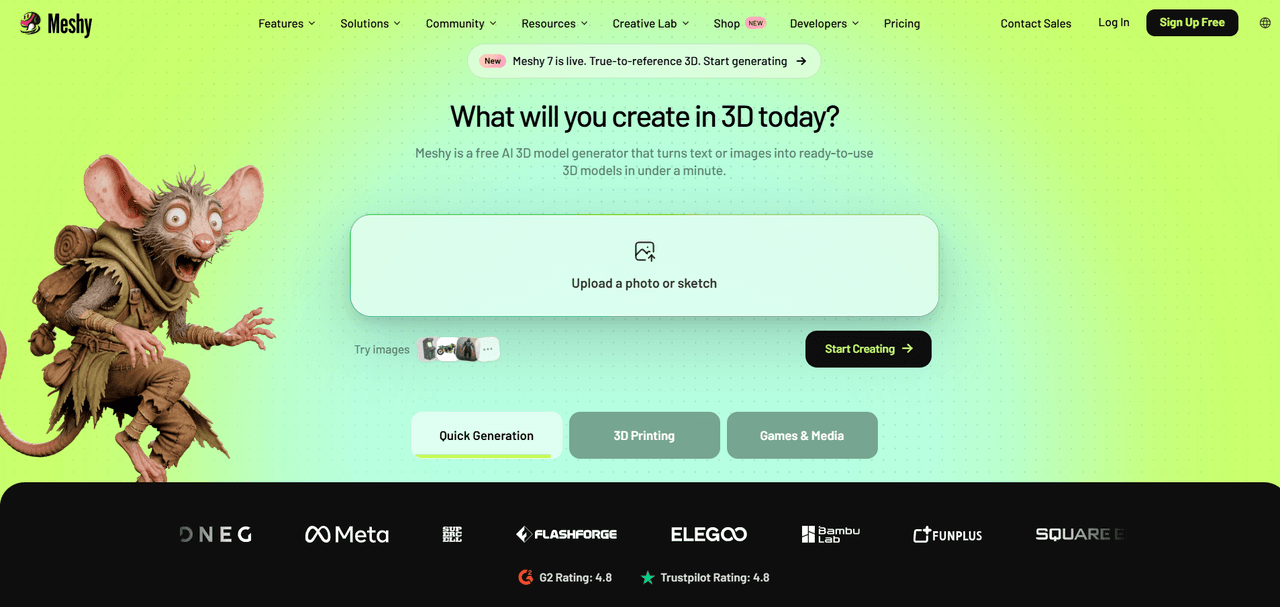
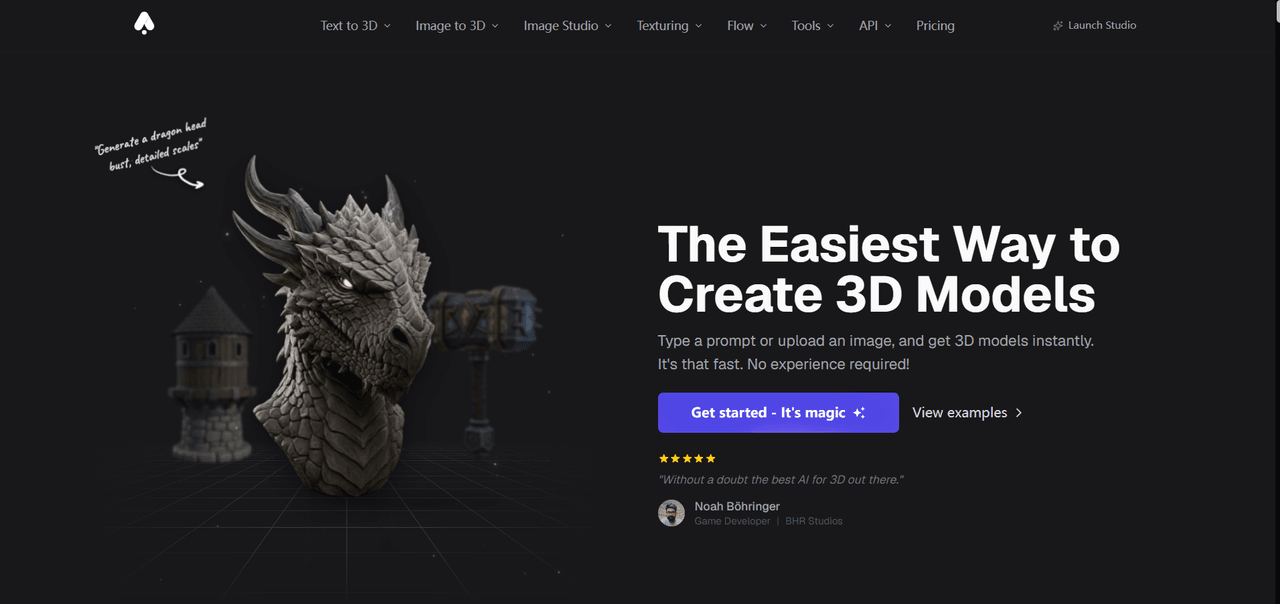
Meshy also has a clean interface, making it easy for beginners to get started. However, unlike Hi3D, it does not provide a fullscreen mode.
Compared with Hi3D, Meshy focuses more on animation and game development. It offers a range of animation-related features, including hundreds of preset motions that can be used to create animations and characters performing specific actions. Meshy also supports text-to-animation and video-to-animation generation.
If you want to design your own props, Meshy provides a complete text-to-3D workflow that allows you to turn your ideas into 3D models. However, as mentioned above, Meshy is more geared toward game developers and animation creators, who can use the platform to reduce the time spent on 3D modeling.
Meshy also provides APIs, allowing businesses and developers to generate 3D models without having to open the Meshy website directly.
For physical production, Meshy offers 3D printing and home delivery services. It also supports multi-color printing and split-to-print, giving users more flexibility when producing their props. You can have your models printed and delivered directly to your door.
For the magic staff, Meshy reproduces the overall design of the original image relatively well. However, the gemstone colors are noticeably darker and less vibrant than those in the original, making the overall model look less refined.
For the mask, Meshy also reproduces the original image very well, accurately capturing its overall design and details. However, the colors and surface appearance are noticeably darker and less vibrant than those of the original image.
3D AI Studio
Like other tools, 3D AI Studio offers text-to-image and image-to-3D model generation. However, it places more emphasis on post-processing after a 3D model is generated, with features such as a Texture Generator and Texture Printer.
One of its notable features is its workflow system, which allows users to connect multiple AI tools in a specific sequence and turn a series of manual operations into a repeatable workflow. You can connect different steps, including image generation, text generation, 3D model generation, model optimization, texturing, and exporting, into a single workflow.
Unlike the previous two products, 3D AI Studio focuses more on the generation and refinement of individual 3D models. It does not provide 3D printing or home delivery services. If you want to use it to design props, you can first generate images with prompts to develop your ideas, then turn them into 3D models and further refine them using its available tools.
However, based on our experience with the platform, its overall user experience and visual interface are not particularly polished compared with some of the other tools we tested. At times, the download and payment buttons can overlap with the model, making it difficult to view the model clearly.
In the magic staff and mask tests, 3D AI Studio relatively successfully reproduces the overall design of the original images. However, its color and visual style are noticeably different from the originals, with a relatively large gap in color and style reproduction.
Hyper3D
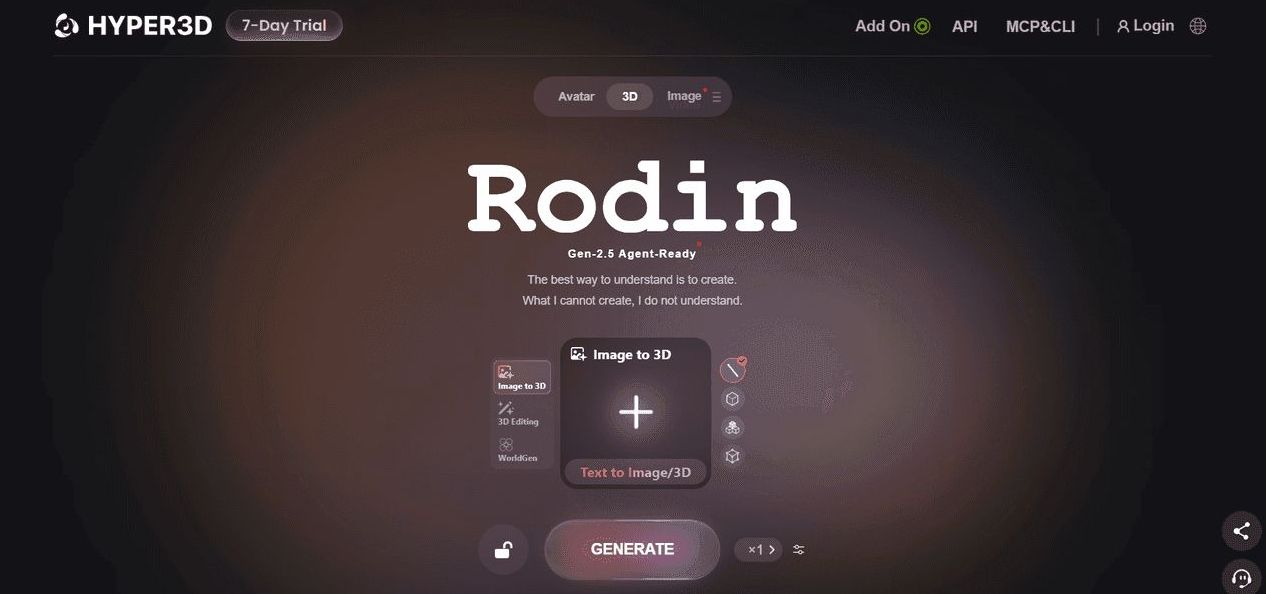
Compared with Hi3D and Meshy, Hyper3D does not have a particularly polished visual workspace, and its working area does not fill the entire screen. Although it is not particularly difficult to use, its ease of use and overall usability are somewhat less beginner-friendly than those of Hi3D and Meshy.
In addition to text-to-image and image-to-3D model generation, Hyper3D offers AI video generation, which can be used for social media content creation, dynamic product previews, and educational materials.
For professional creators, Hyper3D also places a strong emphasis on integration with existing 3D software. It currently offers plugins for Blender, Unity, Unreal Engine, Godot, Maya, 3ds Max, Cinema 4D, and ComfyUI, allowing users to incorporate Hyper3D into their existing workflows.
Overall, Hyper3D may be more suitable for users who already have experience with 3D creation and related software, while beginners may need more time to get familiar with its interface and workflow.
In the magic staff and mask tests, Hyper3D reproduced the overall designs of the original images relatively well. However, in the magic staff test, the color scheme and visual style differed noticeably from the original image, with a relatively large gap between the generated model and the original.
Neural4D
Like Hi3D and Meshy, Neural4D has a clear and intuitive workspace, making it easy for beginners to get started. In addition to text-to-image and image to 3D model generation, Neural4D can generate 3D animations and also offers AI video generation.
According to its official website, Neural4D can generate a 3D model in around 90 seconds and supports high-resolution geometric generation of up to 2048³. It can even turn sketches into 3D models, making its applications go beyond 3D printing to areas such as game development, virtual reality, and product design.
For physical production, Neural4D supports multi-color printing and split-to-print. Users can also order customized physical models based on their designs.
If your main goal is to generate 3D models for props, these features are sufficient for most basic needs.
In the magic staff and mask tests, Neural4D showed a lower level of similarity to the original images compared with the other tools. Its overall detail and color reproduction were relatively limited in both tests.
FAQs About 3D Printed Props
How to Finish 3D Printed Props?
Take Hi3D as an example. If you don't have an image yet, you can describe the 3D model you want in the Text to Image section to generate an image. Alternatively, you can upload an image and describe how you want to transform it to generate a new image.
Once you have an image, you can generate a 3D model in the 3D Generation section and then use the AI 3D texture generator to apply textures to it.
How Can I Get My 3D Printed Props?
If you have a 3D printer, you can download the model from Hi3D and print it yourself. If you don't have a 3D printer, click Custom Delivery, and Hi3D will print the model and deliver it to your home.